
There exists a plethora of useful command line tools. We’re going to take a look at a few that are likely to be helpful as you work your way through school and begin a career as a computer scientist or software developer.
Remember that complicated command you used to do that complicated thing the other day? Yeah, no one does. That’s why we have Ctrl-R. This allows you to easily find a command you’ve run in the past to (optionally) edit and run again.
There is also a command called history that will simply print a list of your past commands. This can be useful if you want to copy-paste commands into a document or otherwise make use of your history in ways other than running a single command.
We already looked at cd, ls, and pwd for navigating the filesystem, but there are a few other commands that can make life easier.
This command, which will need to be installed on most systems (you can use brew install tree on a Mac), prints a directory hierarchy as a pleasant ASCII art diagram. For example, running it on this repository directory:
missing-course on master [!]
➜ tree .
.
├── AUTHORS
├── LICENSE
├── Makefile
├── README.md
├── index.html
├── media
│ ├── header.html
│ ├── header.jpg
│ └── videos
│ └── ctrl-r-demo.mov
└── topics
├── 01-shell-overview
│ ├── README.md
│ └── index.html
├── 02-shell-scripting
│ ├── README.md
│ └── index.html
├── 03-shell-tools
│ ├── README.md
│ └── index.html
├── README.md
└── index.html
6 directories, 16 filesThe pushd and popd commands allow you to create a stack of directories so that you can retrace your steps back to your starting position.
# Assume we start in the home directory
cd

# Time to work on some code
cd Code/awesome-project

# Go update the paper we're writing about this project
pushd ~/Documents/awesome-project-paper

# Jump back to the code without typing the directory again
popd
Fasd and Autojump allow the user to navigate to directories they have previously visited using “fuzzy” matching and the concept of “frecency” (frequency combined with recent). For example, starting in my home directory I can jump all the way into the directory belonging to a particular project (that I work on semi-regularly) simply by providing the name of the project’s directory (or even part of it). Note that j here is an alias that runs autojump with the correct arguments.
~ $ # We start in the home directory
~ $ j polyA
~/Code/TravisWheelerLab/polyA $ # Now we're here!
Grep can find occurrences of a specific string or regular expression within text files.
# Find "Missing" in the file README.md
grep Missing README.md`

# Find "command" in all files under the current directory, recursively
grep -r Missing .

# Only print filenames, not the line that matched
grep -lr command .

# Print some context around each match (2 lines)
grep -r -C2 command .

# Print filenames that did not match
grep -rL Missing .Remember the history command? We can use a Unix pipe along with grep to find all similar commands we’ve run in the past. For example, sometimes it is useful to recall which packages have been installed through Homebrew. The following command can find all invocations of brew install:
history | grep "brew install"These tools act a lot like Grep, but provide better performance and other features that make them more pleasant to use. For example, they can respect your version control system’s “ignore” file to avoid generating extra, useless results.
ag "search term"We’ve talked a lot about how to navigate the file system and work with files, but what about finding files based on their name or other characteristics? For this, we have the find command.
find . -name myfile

# We can also filter by type, which is often useful
# for limiting our results to only regular files
# (excluding directories and symlinks, for example).
find . -type f -name myfile

# It is also possible to negate filters. The command
# below finds all files that do not have a .py
# extension.
find . -type f ! -name '*.py'
It is also possible to have find run a command on each file it finds. This can be helpful if you want to run a command against several different files to produce an output for each.
# Run the mypy type checker against all Python files
# found in or below the current directory.
find . -type f -name '*.py' -exec mypy {} \;You might notice that the find command above takes a few seconds if there are many Python files. That’s partly because mypy is run against each file in serial. We could speed things up by running mypy in parallel and we can use the parallel command to do it. Note: this is another one of those commands you’ll probably have to install, it doesn’t ship with most systems.
Let’s play around a bit…
# Create a bunch of empty files
touch file-{001..100}.txt

# Put some data in each file, in this case
# just a bunch of words
find . -name '*.txt' -exec sh -c "head -100000 /usr/share/dict/words > {}" \;

# Use find to compress all of the files
# and time how long it takes, then decompress
time find . -name '*.txt' -exec gzip {} \;
time find . -name '*.gz' -exec gunzip {} \;

# Use parallel to compress all of the files
# and time how long it takes, then decompress
time parallel gzip ::: *.txt
time parallel gunzip ::: *.gz
You’ll notice that there wasn’t much difference, that’s because our task is mostly I/O bound anyway, but take a look at the CPU percentage, you can tell the tasks are being parallelized because the CPU usage is much higher in the second version.
Now let’s create a more complicated example that should actually result in better performance when we parallelize the work. This is still going to be rather contrived, but it shouldn’t be hard to imagine how it could be translated to real work.
First, we’ll write a program that does something CPU bound. Then we’ll want a quick script to create bogus data for that program to operate on.
./is_prime.py <file>./random_numbers.py <N> <size>Now let’s try the same thing we did above, compare the performance of find and parallel.
mkdir scratch
cd scratch
touch numbers-{00..20}.txt
find . -name '*.txt' -exec sh -c "../random_numbers.py 10 24 > {}" \;

time find . -name '*.txt' -exec ../is_prime.py {} \;
time parallel ../is_prime.py ::: *.txt
You should see that parallel is quite a bit faster now that our work is CPU bound. On my machine, find takes about 35 seconds and parallel takes about 8 seconds.
Parallel can also run jobs on remote computers. We’ll take a quick look at that using the example above, but with a few more files to make it worthwhile given that everything is going to have to move over the network, taking up additional “wall clock” time.
A couple things to note. We use --transfer to tell Parallel that we want to move the files to be processed to the remote machine before running. The --cleanup option, correspondingly, tells it to delete those files after it is finished. The -j10 options tells Parallel to run 10 jobs at the same time, this requires using SSH to log into the remote system 10 times.
You won’t be able to run this examples as-is since you don’t have access to the remote machine or my SSH configuration. Later in the semester we’re going to talk about using SSH and we will create remote servers using a service called AWS. At that point, we can revisit this example.
# First, we need to copy over the program we're going to run
scp ../is_prime.py bioinfo:~/

# Now we can run it!
time parallel -j10 -S bioinfo --transfer --cleanup ./is_prime.py ::: *.txt
Notice that the output produced by time is a little less useful since we don’t particularly care how much CPU time was used, only the “wall clock” time matters at this point.
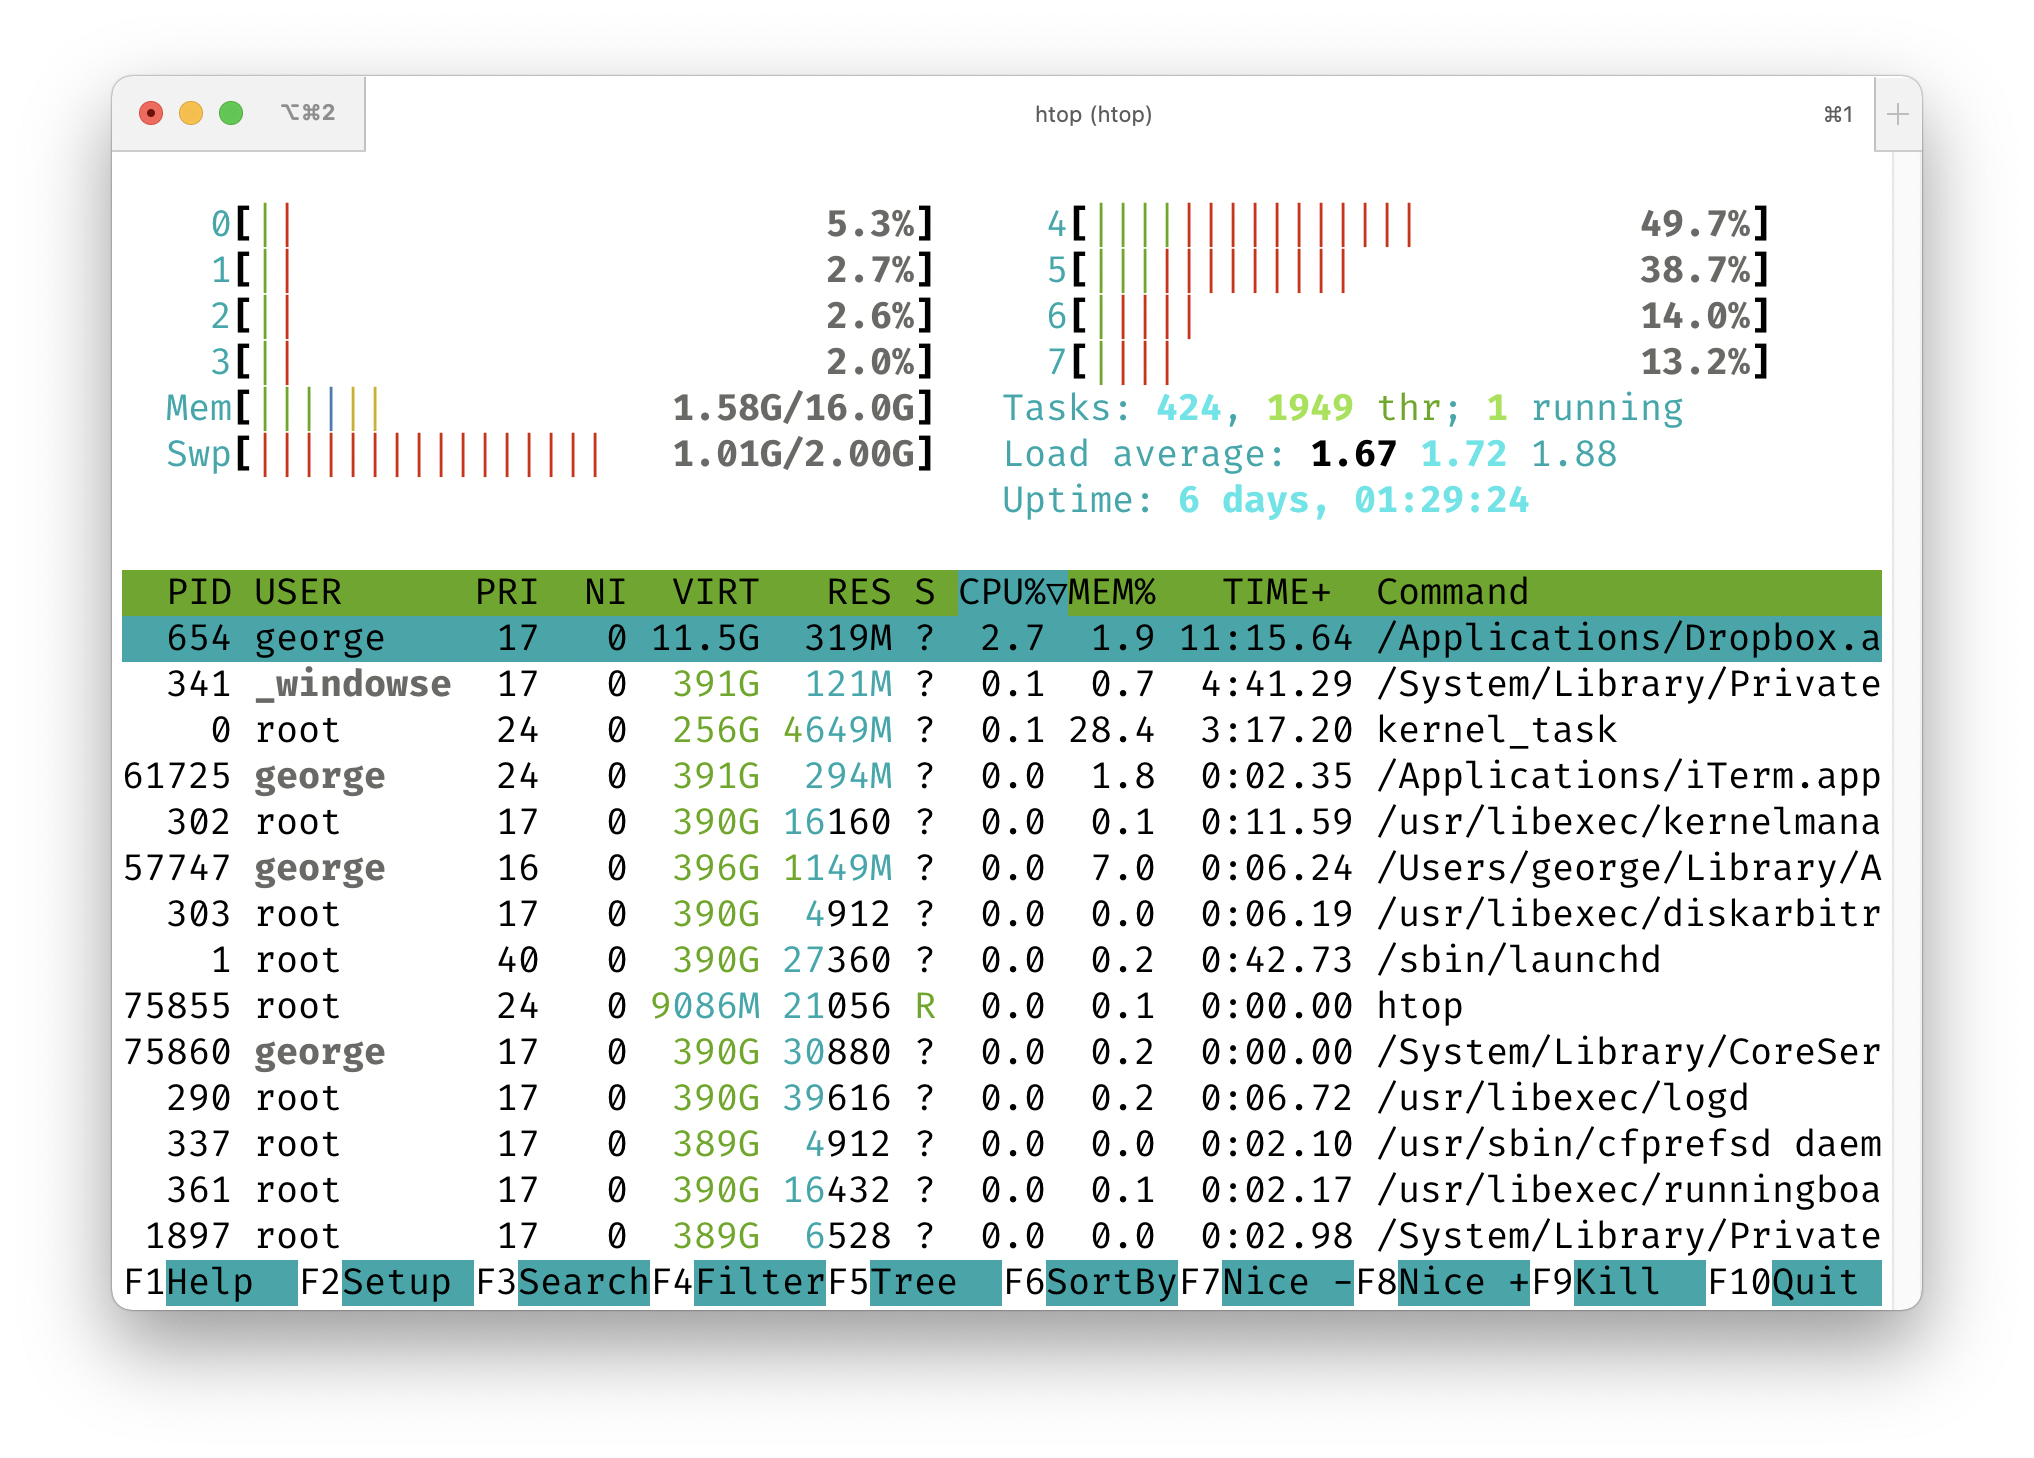
We can use the htop tool (which can be installed through Homebrew or your Linux package manager) to monitor CPU usage while we run a parallel task. We could also use the top tool, which is included in virtually all Unix-like operating systems, but htop is way cooler.
Note that you have to run htop using sudo htop on a Mac (this runs it as the “root” user). On Linux just htop will suffice.
In one terminal window, start up htop. It will look something like the image below. Note that you can press “Q” to quit.
Then, in another terminal window, run one of the commands below and watch what happens in your htop window. When you run the first one, you’ll notice that one of your CPUs (which one may change over time) goes up to about 100% usage. For the second command, you’ll see several of them pegged around 100%. That’s because Parallel is running multiple jobs at the same time.
time find . -name '*.txt' -exec ../is_prime.py {} \;
time parallel ../is_prime.py ::: *.txt